Showing posts with label kids. Show all posts

Tuesday, September 6, 2016

ETSY Make For Good 2016


This year, I'm participating in Etsy Australia's Make for Good Campaign, which supports Plan International Australia's "Because I am a Girl" initiative.

The theme this year is "Creating Brighter Futures" and my two products that I've included in the campaign - Colour Me Party Favour Bags and a Colour Me Art Folio Bag fit the theme nicely. Both products feature fabric that kids can colour in themselves with fabric markers. Part of the proceeds from these products will go towards empowering and educating girls around the world.


Friday, September 2, 2016

Toddler Chalk Number Quiet Book

If you've been following my recent posts, you would know that my Etsy store has been undergoing a transformation. I'm selling out some products I've had for a while, added a few new ones and updated several others with new fabrics and some new features. I've also joined the Etsy Make For Good Campaign this year with two great creative products for kids. I am so happy with how the store is looking at the moment, and just in time for the pre-Christmas shoppers - bring it on!

This Quiet Book has been in the works for a while, but life has been busy these last few months with changing jobs and reassessing a few other projects I've been involved in, but here it is finally finished.


There are ten number pages with chalk vinyl numbers appliqued on that little ones can trace around with chalk. Each page also has a matching bead counter so that kids can practice counting to each number and associate each figure with its amount.


I've also added in four new cover designs - bright, colourful and very fun! 


Check out the books here: https://www.etsy.com/au/listing/476407589/toddler-chalk-number-quiet-book?ref=shop_home_active_1

Saturday, July 30, 2016

Portable Racing Car Play Mat

The three year old boy of the house has recently gone through a sudden change. Up until now he has happily played his big sister's games while wearing an old dress that belonged to me as a child. But now a fascination of all things with wheels has arrived and a collection of Hot Wheels and Matchbox cars has materialised out of what seems like nowhere.

The racing car mat began on a Sunday afternoon as a few ideas that looked something like this below.


Some felt and cotton fabric (how cute is that racing car fabric?!?!!) and a little refining and it became this -


Three cars can be parked in the pockets at the top. They can line up at the starting line and drive around in laps, stopping off at the pit stop to refuel along the way.


Pack it away by folding over the car pockets (this stops the cars from falling out in transit) and then folding the whole mat over twice and tucking away in a bag to carry out with you.


Check it out in my etsy store.

Saturday, June 25, 2016

Fabric Favourites

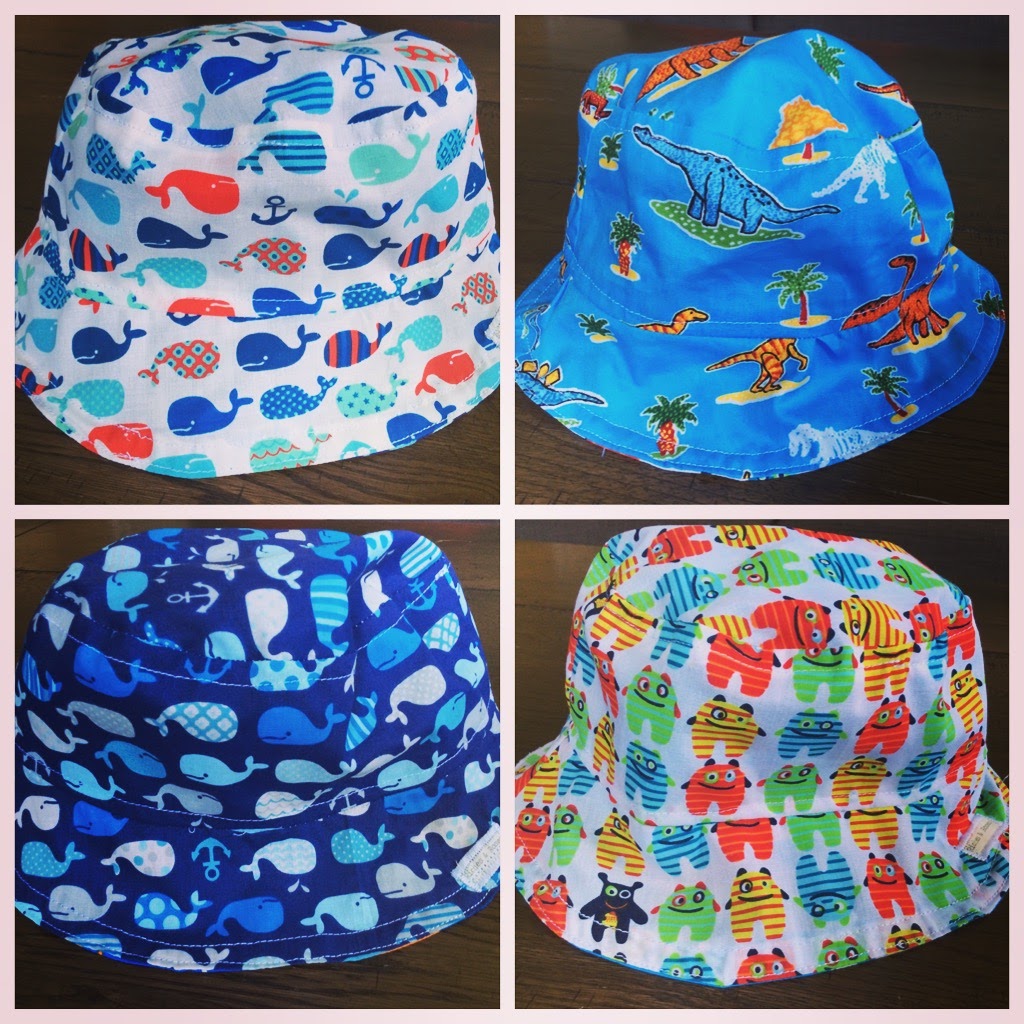
Sometimes it seems kids get to have all the fun. My son has shorts covered in little monsters, and another pair in sharks. He has pants with dinosaurs on the trim and a reversible hat with bugs on one side and vehicles on the other. 


My daughter has a skirt covered in rainbow spots and multiple items made out of different owl designs.


I shouldn't complain too much though as it can be a lot of fun shopping for kids fabric and as you can see, I'm building up quite the stash <3 <3 <3

Which one do you like the best?

Friday, June 24, 2016

Pyramid zipper coin purse

Earlier in the year, I went to a craft fair here in Brisbane, where I bought  a little kit to make this tetrahedron zipper pouch. When I saw it, my geeky side (I used to be a high school maths teacher) loved the idea - only a long zipper and a strip of fabric to make a little purse. The fabric strip is sewn along the zipper and as you close the zipper, a purse is formed!


And then of course, my 3-year old and 5-year old spotted it, and being zipper-obsessed as most kids are, begged me to make them both one.

The fabric strip was great, but it was fiddly to deal with the lining, so I perused the internet and came up with the perfect solution for a kids version - ribbon! Follow the link to Craft Passion where you'll find some great pictures and very useful instructions.

So I bought some ribbons... how cute are they?!?!


And some very long zippers, and got to work with the colours chosen by my children.


My kids are not really into coins, but the purses are the perfect size for storing tiny little treasures, like that one favourite car, dinosaur, or hairclip, or for just zipping and unzipping for fun.

Wednesday, June 22, 2016

Sewing Tutorial Quiet Book Pages - Rainbow, Butterfly, Hot Air Balloon

A few months ago a custom order came through my Etsy store. One of my most popular existing items is the Quiet Book that I sell through the store and one of the great things about it is that it is so easy to add extra pages to it as I join the pages together with ring binders.

The request was to add in one extra page (two-sided, so two extra designs) more suited to a smaller child. See the finished product below!


To make the rainbow, I cut the red (largest) semicircle first and then cut each next colour a little smaller. I then sewed the red semicircle onto the page and followed with each smaller one until I was done.

I overlapped two little light grey clouds over the bottom edge and cut out two identical pieces in a small butterfly shape. I sewed these together, inserting antennae and leaving a small opening on each side so that I could feed through the thin ribbon. When constructing the page and joining it to the previous one, I fastened in the ribbon between the pages. 

The cute little butterfly can be pulled along the ribbon to fly around in front of the clouds.


For the hot air balloon, I first sewed the blue felt rectangle onto the background page as the sky. Then I added two little white clouds and sewed on the main hot air balloon shape (here in the white with coloured spots). I attached four short lengths of ribbon to the base of the balloon cover (here in orange), and then sewed this felt piece at the top of the balloon. I attached the ends of each ribbon at the bottom and then hid the ends by sewing the balloon basket over them.


The doll is used in another page (the tent and sleeping bag page) in the book, so rather than add another, and in order to make it easier to handle for a small child, I attached a ribbon to the doll so that it could be used for both pages, and also couldn't be easily lost - double win!


Saturday, June 11, 2016

Riches and Roses Etsy Update


For a mother of two kids aged 3 and 5, who works three days a week and has volunteer commitments, my Etsy store has been keeping me busy since around last Christmas with an average of about 4 orders per month since December.

Since then, I've updated my packaging and labelling, to use this cute little label on all my items:


I've also added in some new items including these baby doll accessories:


And some of my long standing products have suddenly become very popular, especially this cute little hungry caterpillar set.


The 5 most active products in my Etsy store so far this year have been:


<3 <3 <3

Friday, June 10, 2016

Pinterest - Most Recent Pins - Sewing for Girls

Pinterest is my all time favourite social media tool. It's perfect for sewing, and even more perfect for the procrastinating sewist like myself. During the busy times when I don't have the time to sew, I can usually at least put aside 5 or 10 minutes to add to my pin boards.

My most viewed pin board is Sewing for Girls, due to a little tutorial I pinned on there from this blog about three years ago for a Toddler Pinafore Dress. It now has almost 26000 repins and 2000 loves on Pinterest and brings a lot of traffic to this blog too.

Here are my most recent five pins on the Sewing for Girls board:


I've actually already started making two of these, one each for my daughter and son. They love to choose their own fabrics and watch the process unfold as the fabric is transformed into something they can use/wear. These little wallets will be perfect for trips to the library with their new library cards and little shopping trips.


Geranium Dress (by Made By Rae)


Rainbow Dress Tutorial (by Made by Rae)


Easy DIY Swim Cover Up (by It's Always Autumn)

Happy Sewing!

Sunday, December 27, 2015

Baby Doll Swaddle - Pattern and Tutorial - Easy DIY


You will need:

  • Approx 0.5 metres/ yards of a print fabric for the main fabric.
  • Approx 0.5 metres/ yards of a plain lining fabric for the inside of the swaddle. 
  • Approx 0.5 metres/ yards of a light wadding, such as Pellon fleece.
  • Velcro
  • Small scraps of felt for heart decorations.
  1. Start by printing the three pages of the pattern and cutting out the pattern pieces along the solid line. The pattern pieces for the main part of the swaddle will need to be joined together along the dotted line, by matching and then taping the two pieces together.
  2. Place pattern pieces with the marked straight edge along the folded edge of the fabric and cut out one piece in each of the two fabrics (main and lining), as well as the wadding.
  3. Depending on the wadding used (and following the directions for the wadding type), iron the main fabric over the wadding piece to secure.
  4. Begin by sewing the darts into the separate fabrics. Fold over the fabrics along the centre line of each dart and sew along the outer line to create shape in the foot pocket and top part of the swaddle.
  5. Then take the two pieces of lining fabric, right sides together, and sew together around the round bottom edge. Repeat for the outer fabric. Snip along the curved seams and turn one of the fabrics out the right way.
  6. Place this piece inside the other, so that right sides are together. Now join the two fabric cases together by starting in the middle of the top seam and sewing around all of the edges, leaving a space of about 4cm (1.5in.) as you return to where you started.
  7. Trim all corners and curved edges and turn the swaddle out the right way. Iron the seams flat, especially where the opening is at the top seam.
  8. Top stitch around all edges, closing up the opening at the top seam.

9. Pin a strip of velcro to the position indicated on the pattern for the foot pocket. Sew this down and sew the matching velcro to the flap that you prefer to fold down first (on the inside). Then sew two small pieces of velcro onto this same flap, but on the upper side and the matching velcro to the underside of the flap that will fold down last (see picture above for velcro placement).

10. Finally, attach your felt shape (be imaginative to match your fabric, or to suit your child's preferences here!) to the top flap.


Tuesday, December 22, 2015

Simple Rainbow Ribbon Skirt Tutorial

Miss 5 loves rainbows. Her first drawing that resembled anything was of a rainbow. Since then, we have had rainbow beetles, rainbow birds, people wearing rainbow clothes and more feature in her drawings.

I saw a skirt somewhere online that had bias binding strips along the bottom to create a rainbow effect, but as I am always on the lookout for the most simple and effective ideas, I thought I would replace the binding with grosgrain ribbons.


To start, I measured my daughter's waist and doubled the measurement. That gives you the width of fabric needed.

I then measured the length from her waist to where I wanted the skirt to end (in her case that was just on her knee). I added around 4 - 5cm and that gave me the length of the fabric needed.

Open out the rectangle and fold over the bottom edge by about a centimetre and iron down. Pin the ribbons along the skirt. The bottom one serves as the hemline and the spacing is dependent on personal preference really and how many colors you choose to use. Sew the ribbons down by sewing along both edges as close to the edge as possible. To finish off at the ends, fold the ends under and sew down.

Fold the rectangle with right sides together and sew down the open side. Then press the top over 2cm and then another 2cm. Sew along the bottom fold as close as you can to form the elastic casing. Leave an opening of about 2 - 3 cm and feed the elastic through. Sew the ends of the elastic together and sew the casing closed.

Oh so cute!